Pages

Sunday, November 20, 2011

Toika Control Unit onto a Glimakra Standard - Nearly finished!


It has been a busy week at work and the lovely weather this weekend lent itself to tennis,cycling and a bit of swimming. In spite of all these distractions I have virtually finished the installation - I just have to do a bit of adjustment of the harnesses and then I am ready to thread, sly and weave as I already have a warp sitting on the back beam.

I finally got the harnesses finished on Friday evening and have been hanging them over the weekend. It was just a case of follow the instructions and try to get everything as level as possible from the outset. I have a small spirit level that sits on top of the shafts and I got all the shafts sitting neatly on two broom handles before I tied them up.

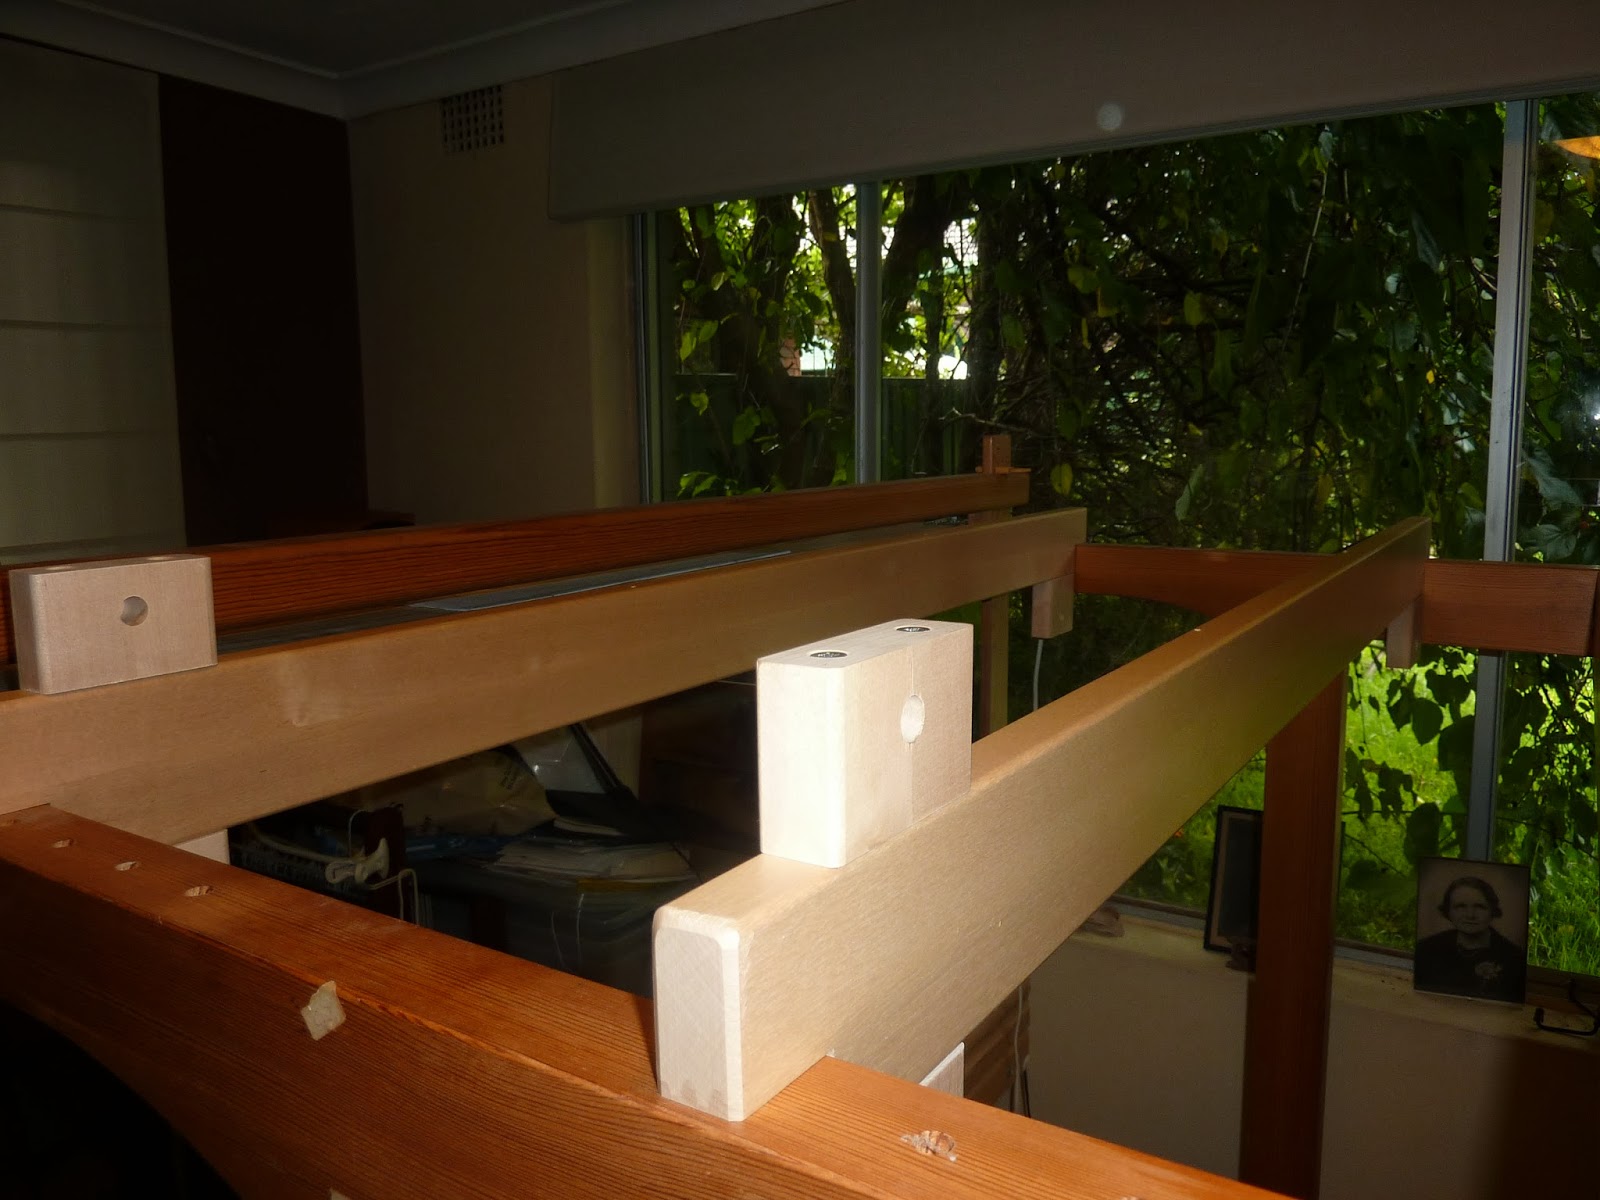
There was one slightly hairy moment when the weight of the shafts pulled the control unit across to one side - hence the two pieces of crenelated wood that can be seen in one of the pictures [they are the shaft holders that I won't be needing any more].


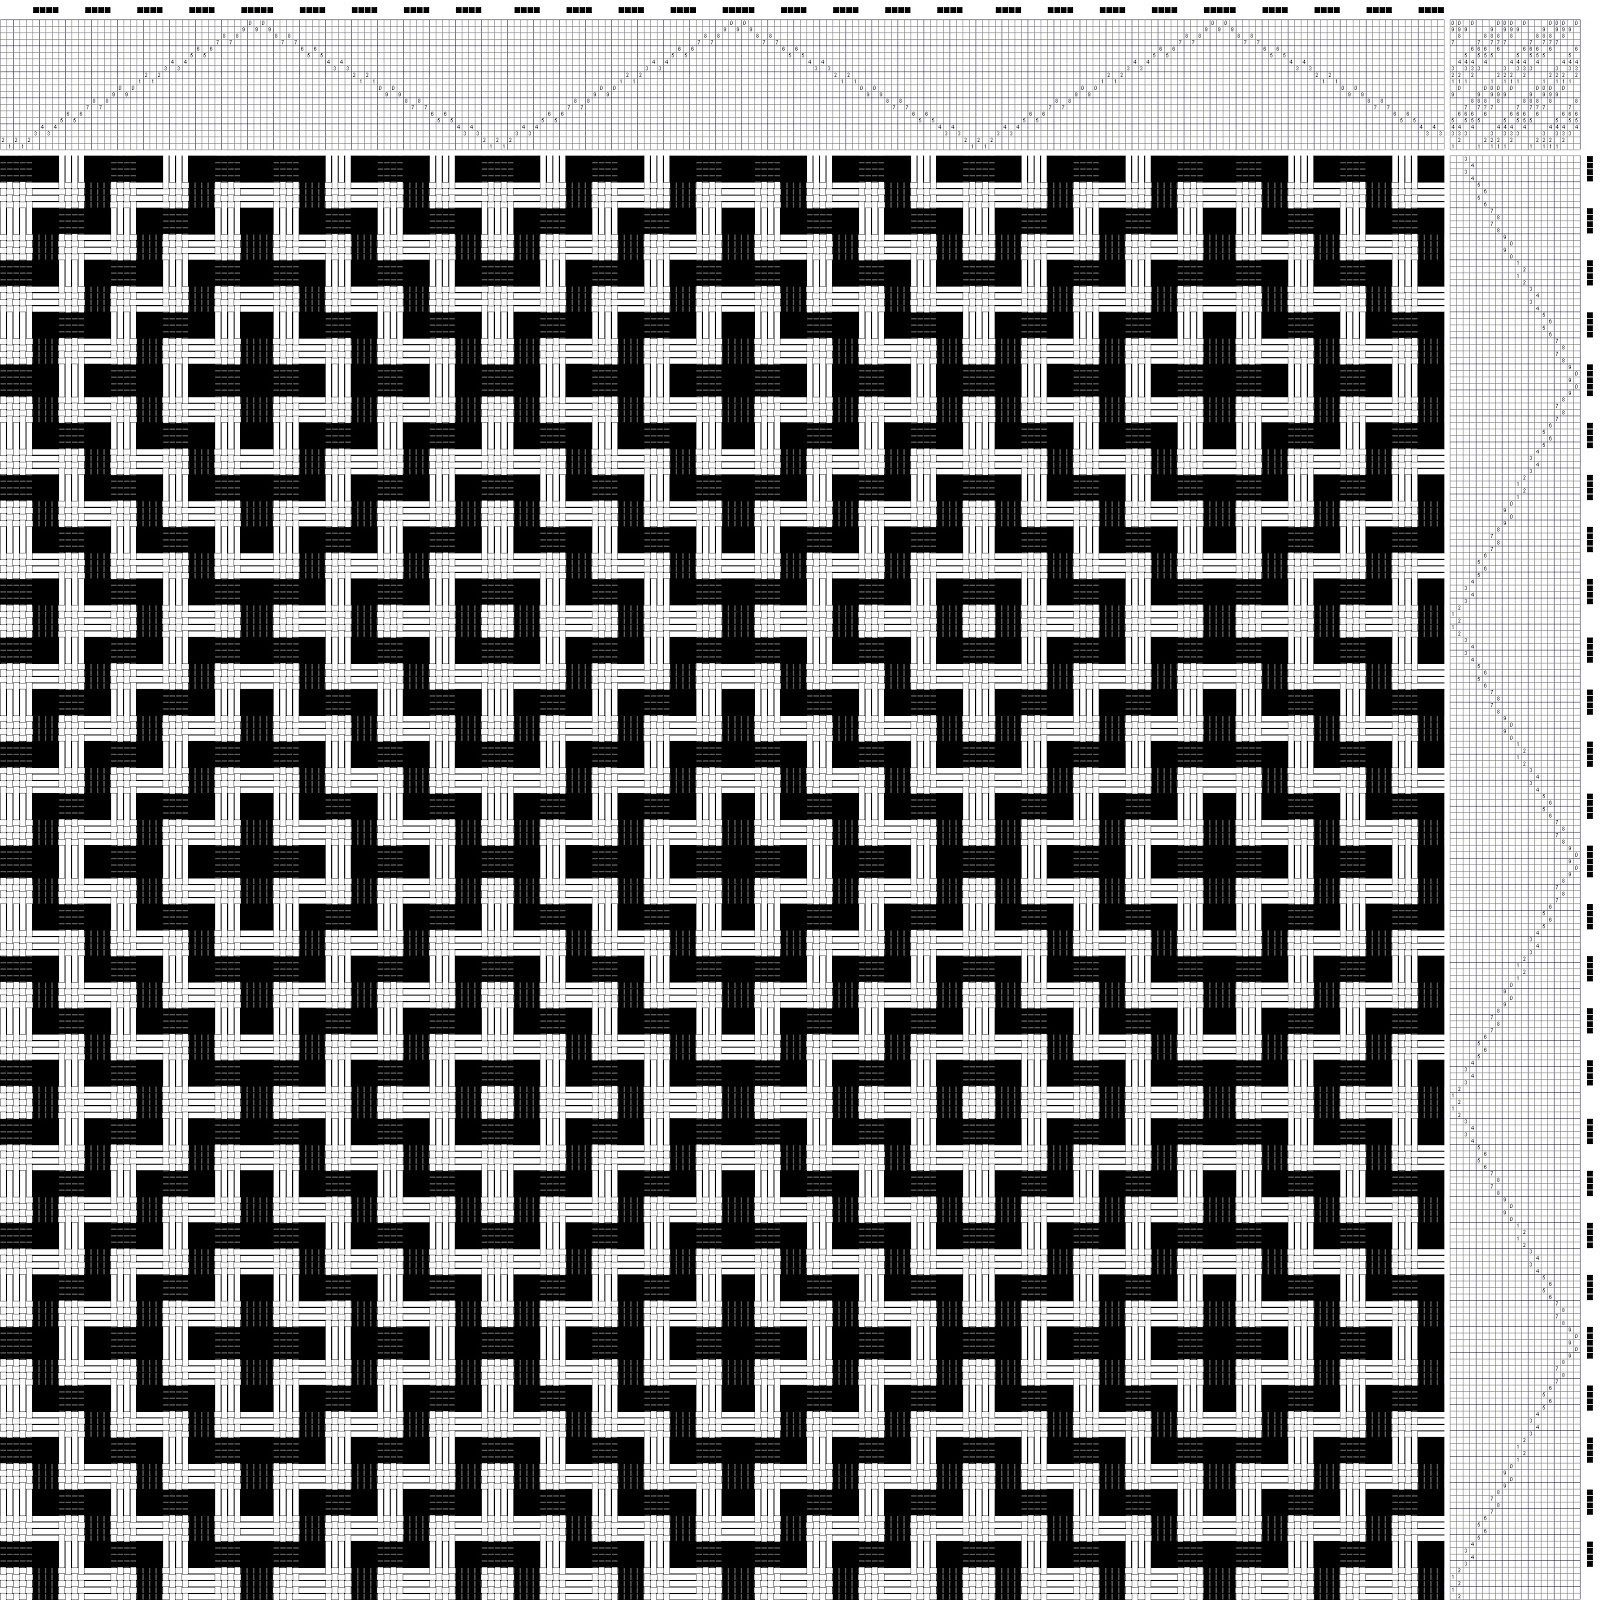
I had previously loaded the WeavePoint software onto a laptop and it was a matter of minutes to connect the unit up to the power and the computer and, hey presto, it all worked  first time, immediately!  I pressed the peddle and shafts moved up and down according to the draft so I poured myself a cold beer and that's it for this weekend. Brilliant!


Monday, November 14, 2011

Toika Control Unit onto a Glimakra Standard - Day 2

Nothing very exciting today; just putting the harnesses together. You start of with this;


and end up with 24 of these;


The way that the harnesses are put together is quite neat - rubber "O" rings that fit into indentations on the metal rods that connect the top and bottom heddle bars at each side and hold it all nice and snug. Much less stressful than the methods where the bottom heddle bar just dangles on the heddles. 
I did 12 harnesses tonight so I should be able to knock the rest off tomorrow.


Sunday, November 13, 2011

Toika Control Unit onto a Glimakra Standard - Day 1

The story so far...yesterday I unpacked  the parts of my new Toika EW24W Computer Control Unit. Today I start fitting it to my Glimakra Standard.

The first job was to remove everything to do with the jacks, shafts, lamms and treadles on the Glimakra. A bit of a pity as it took me an age and a lot of effort to put it all together in the first place. The end result of all this work was a table covered in sticks and string and an empty loom.


The computer unit sits on two rails that that fit across the top of the loom and rest on the castle at each side just behind the beater assembly. The instructions are precise as to their orientation and they fitted exactly.


Having done that the pulleys have to go on. There are three sets of 24 pulleys which are mounted on three rods which are threaded through holes in the rails an held in place by cotter pins. Again I just followed the instructions.


.
As the photos below show the two sets attached to the right hand side of the rails. There is another set on the left.


Once the pulleys are in place on their rods the rails are at the correct distance apart to receive the control unit. This lifting up and positioning was a two person job but straight forward. The unit sits neatly on top of the rails.


There holes on the bottom of the rails that probably align with holes on top of the castle for Toika looms so that a dowel peg can keep the rails in the correct place on the castle. They didn't align with any of the holes on the Glimakra because I have the front rail tight up against the beater assembly. However a hole just behind the back rail took a peg which will stop the rails from moving.


I think that this position will be OK but it isn't I will just have to adjust it later on. The aerial view to the left shows how it all fits snugly together.

That it for today. Tomorrow evening after work I will start putting the harnesses together.

Saturday, November 12, 2011

Toika Computer Control Unit

After a journey from Finland to Australia, a journey of about 10,000 miles for an energetic crow but longer by boat, my Toika EW24W has arrived. I combined the order with Liz and she did all the messing around to get our boxes through customs and quarantine - quite a palaver for her.

So far all that I have done is unpack the parts, read the instructions and looked at everything closely to identify what it is and workout in my mind where they all fit into the great scheme of things.


There is one problem that I need to address first. As I have been using my AVL recently the Glimakra Standard to which I am going to fit all this has become a bit of a dumping stand. Clearing all of this stuff and finding homes for it will be the first job for tomorrow.

Sunday, November 6, 2011

Novelty Yarn Scarf

I have started weaving the Novelty Yarn scarf that I referred to in my previous post. I started off weaving it as plain weave but the problem was that the eyelashes of the weft became trapped under the warp. I have changed to weave to Brighton Honeycomb which gives me some longer floats to let the weft show itself off. It looks rather like slightly hairy chain mail at the moment but I am sure that with wet finishing and a bit of tweaking I'll get it looking suitably furry.


Saturday, October 29, 2011

Home made warping

I popped into my nearest Spotlight store and bought some novelty yarns so that I can get some scarves woven quickly for Christmas - target audience is nieces and granddaughters. The first scarf will be based loosely on "Saturday Scarf" in Handwoven November/December 2005. The yarns I shall use are Moda Vera Crystata [50m/50gm] and Moda Vera Jazz [60m/50gm].


In an attempt to save time I set up some home made warping equipment using a multi-bar trouser hanger as my spool rack and a plastic mitre box and some old combs as my tension box. As my sett was to be 6epi I didn't bother with measuring; I wound six  50 metre balls straight onto the spools.


It worked quite nicely even if it all was a little bit industrial.

I am still playing with how I use the sticky warp beam for tying on the warp. I tied the warp into bouts of six ends and then weighted each one individually before placing it over the sticky beam. I then wove in a two stick heading and tied the apron rod directly on to that. This way is certainly quicker that tying knots or lacing on and I seem to be getting a nice even tension by virtue of having it provided by weights. At the moment the method is fairly wasteful of warp - 12" before the stick heading but I am sure that I can improve on that.


Tuesday, October 18, 2011

Three Shawls

Having resolved my selvedge problem I wove a further two shawls using novelty yarns as the weft. It all worked very nicely and they were a joy to weave.


I used Paton's Sorrento for the weft on a lacy shawl - it's OK [just] but there are too many completing elements with lace and a very nubbly yarn combined. I will use the yarn again but in a different combination - probably just a very open plain weave.

So, now I have to decide what to do next. Looking at my shelves I don't seem to have a shortage of yarns with a good selection that I bought in America a couple of years ago.


The trouble is that I got carried away with the colours and bought lots of little bits. For example I bought 2/18 wool in 8 colours but not more than 2oz of any particular one. I shall have to do few calculations to see what I can come up with. Whatever I weave next there must be movement, bumps and puckering!

Sunday, September 11, 2011

Selvedges and Pi

When weaving the lace shawl I noticed that the selvedge threads were considerably tighter than the rest of the warp. I couldn't work out why and assumed I must have done something silly when lacing on. With the shawl off the loom and having been allowed to relax and with a bit of pulling and stretching it seems to be OK.


I retied the warp with particular care to make sure that all of the ends were under equal tension. After about nine inches of weaving the same thing happened again - a tightening of the selvedges. The picture on the left shows how the warp is curving up at the selvedge. I looked at everything again, inspected my draft and then felt very silly when I realised the cause.

 In balancing the disposition of the warp on the sectional warp beam warp I had beamed the warp so that I had the selvedges [four threads on each side] in their own section. These threads had more space so the warp did not wind up to the same diameter as all the other sections. This can be seen in the picture on the right.

As we all know, C/D =  Pi, so the two selvedge sections that I measured as having a diameter of 5.9 cm has a circumference of 18.535 cm whereas the other sections with a diameter of 6.4 cm has a circumference of 20.106. What this means that for every 8 inches of warp released from the back beam only about 7.3 of the selvedge threads were being released. It soon mounts up!

It is all corrected now, the selvedge threads are off the warp beam and dangling at the back appropriately weighted. I now know that I should not have sections with less than the standard epi in them. This means a better balancing of the pattern repeat with the epi. If I need extra threads they must either be beamed separately [or dangled down the back] or I could fill the whole section anyway and just use the threads that I need.

Tuesday, September 6, 2011

Lace and Overshot

In chapter 12 of "... 8 Shaft Patterns by Carol Strickler..."  is #488 which is described as  being "Diamond in lace and overshot from Manual of Swedish Handweaving..."  It caught my eye because the threading is very similar to that in my Ultimate threading that I have been getting so excited about in previous posts. I now know that what I have "discovered" is just an extension of multishaft overshot but I hadn't realised that so much could be done with it.[http://gangewifre.blogspot.com/2011/07/ultimate-threading.html].

The draft is shown below slightly modified [the lilac one] and the two in black and white are some extensions of the idea to 20 shafts.

Having just finished weaving the Lace Shawl I wove a bit of a sample of this lace/overshot draft. Lace seems to work best on slightly less than the plain weave sett and overshot [IMHO] works better on something slightly tighter so it will be interesting to see how this turns out when I get it washed. I suspect that it will be a little bit too sleazy - no matter as the plan for this warp is that it gets progressively close in sett so I will weave a progression of samplers.


Sunday, September 4, 2011

Lace Shawl

I have threaded the loom  [AVL WDL] with my Ultimate Threading and the first cab of the rank is a lace shawl. The yarn is Bendigo 2 ply set at 13.5 epi and all is going well. Shaft 24 has finally given up the ghost [the wire from the shaft to the dobby is kinked and will not engage consistently with the electromagnet) but it was no matter as I was just using the shaft for the selvedge so I was able to switch to another one.


I am using live weight tension on the warp beam at the back of the loom. I have kept  the AVL brake cord, I have just detached it from the loom frame and attached 10lbs as the main weight and  x2 1lb sinker as the counter weight.


 Because I have had problems with the ratchet and pawl on the front sandpaper beam I have put on a similar live weight tension system at the front of the loom which pulls in the opposite direction. I adjust the weights so that the warp can be advanced with the lightest of touches on the ratchet leaver. In practise this means that I advance the warp much more often than I used to.

Before stumbling on this system I advanced the warp whenever I moved the temple, about every 2". Now I move it forward about every half inch - there are no ratchets engaged or disengaged in the process so everything is very smooth. Too much weight and the warp will advance just from the pressure of the beater; I tried this as a means of advancing the warp but I could not get a consistent beat. The front beam has 2 lbs pulling the warp forward - I suppose the difference needed is due to the friction of the yarn on the back beam heddles and reed.

The diagram shows the principal

Monday, July 25, 2011

Deflected Double Weave

I was looking at some 18/2 Merino sitting on my shelf  and thought that it might be a good idea to do some Deflected Doubleweave. So I re-read the article "Deflected Doubleweave: beyond the basics" by  Madelyn van der Hoogt. I tried various profiles as suggested and then played with my weaving software (Pixeloom) to see if I could automate the creation of the full threading. I ended up with this method;


1. Draw a twill threading with alternate colors in the warp. This example is very simple just to illustrate the method.

2. Expand the threading by 2.

3 Use Block Substitution selecting"overshot".

4 Change number of treadles to 8.

4 Change the tie up to a deflected double weave tie up. I have started keeping all my tie-ups, threadings, treadlings and colour schemes  in a Library folder and then using the Import function to bring them into whichever draft I am working on.

5. Use "Tromp as Writ" function to redraw the treadling

6. Use "Use warp colours" function to make weft colours the same as the warp

I did this exercise starting with a various 10 shaft twills so I ended up with  several 20 shaft deflected double weave drafts. I came across a draft for 16 shaft deflected double weave in the Files section of WeaveTech  (DeflectedDoubleWeave.WIF  posted by R S Blau) which helped me understand the tie up variations that are possible. It was this draft that lead me to the "Ultimate" threading that I have referred to in previous blogs


3.

Sunday, July 24, 2011

Ultimate Threading 3

..and Turned Taquete and Echo

Ultimate Threading 2

In addition to my previous post the threading also supports Monks Belt and Shadow Weave

Saturday, July 23, 2011

Ultimate Threading

As always it will have been done before, but I have worked out that the threading in pictured below will enable me to weave loads of things without having to re thread for some considerable time


It is an overshot threading with 10 independent blocks on 20 shafts with 4 shafts reserved for the selvedge. The pictures below show what I believe I can weave on this  threading;

Lace
Twill - ADI
Twill -advancing point
Twill - curve
Overshot


Deflected  Doubleweave
I am sure that there is more than this but what I have here will keep me busy for months.

Friday, July 8, 2011

4 Colour Double Weave - first attempt

This blog has been left un updated for a long time – not good.

The two Brighton Honeycomb scarves that I wove on the Glimakra are now off the loom and in constant use. The use of a double weft thread for one of them was very effective.  I have put on an alpaca warp that is sitting on the back beam waiting to be threaded. This won’t happen until I have installed the Toika EW24W Control Unit that is on order for an August delivery. I combined the order with a friend who wanted  a controller plus a loom from Toika in an attempt to reduce the freight costs. It is a long way from Finland to Australia.

The warp from hell ( see post xxxx) has been woven as 4CDW. It was tentatively going to be a shawl but the cloth is too heavy and the pattern is too variable for it be anything but cushion covers or bags of various sorts. I was plagued with a sticky warp to start off with but once I got the weaving going I couldn’t stop. I will post some photos when I get home tonight.

Monday, April 18, 2011

Low Warp Tapestry Loom


In a previous post I said that I found it much easier to weave tapestry on a horizontal table loom rather than an upright tapestry frame. I had read previously about the two styles of French tapestry high warp (haute lisse, aka Gobelin) and low warp (basse lisse, aka Aubusson), knew what a Gobelin loom looked like and I had seen all the upright tapestry looms that are available on the market. What I had not come across was any information about low warp tapestry looms.

Searching the internet on "low warp" didn't give me much, but once I switched to using French weaving terms (basse lisse, metier a tisser, tapisserie and aubuson used in various combinations) it started getting interesting.  It took a while to get used to looking at French sites but what with recalling my schoolboy French and using Google Chrome as my search engine with its translation functions I soon able to get the hand of what I was looking at . I needed to exercise care with the automatic translations  as some of them, particularly of weaving terms, came out a bit wide of the mark. For example, fils de chaîne  (warp threads) is translated Google as "son of string".

To start with, an explanation of the difference between "Le metier de basse lisse" and "le metier de haute lisse" is here;  http://cmthibert.free.fr/cmpages/metiers.html.
I must stress that my research has been on the use of low warp looms for tapestry. The term “basse liise” when applied to looms in French also covers conventional cloth weaving handlooms.

The loom – metier a tisser de basse lisse
The montage of photos below gives a pretty good idea of what the looms look like:-


and here is a larger picture;


The construction is quite straight forward. The main differences between these looms and conventional horizontal looms are;
  • No beater
  • The warp runs directly from a beam at the back of the loom to a beam at the front of the loom.
  • The  back beam is mounted in an adjustable dolly or carriage  that allows additional control of the tension – over and above that put on by rotating the beams.
  • The back beam is higher than the front beam so that the warp slopes slightly upwards from front to back.
  • Warp threads are held in place on the front and back beams by a “verdillon” (I can’t find a translation). This is a metal rod that is held in place by hooks set into a groove that runs the length of the beam.
  • There are two sheds which are controlled by harnesses positioned below the warp. The connection between the warp and the two pedals is shown in the series of photographs on this page here - http://www.vive-la-creuse.com/ciao93/index.php?post/2008/02/26/La-Tapisserie-sur-Basse-Lisse-4-Montage-de-la-Chaine-fin. It took me a while to work out how this all fits together
  • There is a plank just behind the front beam that extends across the width of the loom.


.